TDS Reforged Death Invasion Solo Guide
Clear the mode with disciplined DPS even when meta crutches are banned from your loadout.
Death Invasion is one of the showcase challenge modes inside TDS: Reforged. The mode presents a specific set of modifiers that change how standard tower loadouts perform, requiring players to adapt their strategies beyond default meta choices. Creators have published solos that intentionally avoid Accelerator and Engineer, proving the mode is beatable with broader tower knowledge. This guide captures that mindset.
Understanding Death Invasion modifiers
Death Invasion operates under a distinct modifier set that changes enemy behavior and tower effectiveness. Before loading in, check the current modifier rotation through Live Status or the mode selection screen. Key modifier categories include:
Enemy scaling — Death Invasion enemies often receive HP multipliers or speed buffs that invalidate standard early-game assumptions. Cheap towers that handle early waves in other modes may leak immediately.
Targeting restrictions — Some modifier rotations limit tower targeting options, forcing reliance on specific tower categories or placement geometries.
Cash modifiers — Economy changes affect when you can afford key upgrades, shifting the importance of cash generation versus raw damage.
Mindset and preparation
Do not copy official TDS muscle memory blindly. Reforged enemy scripts and tower stats differ. Open with the Wave Checklist, claim group cash, and pick a loadout anchored by the Overall Tier List.
Death Invasion rewards preparation over reflexes. The mode is solvable—you need to identify which modifiers are active, select towers that counter those specific conditions, and execute placements with precision.
Loadout construction without Accel and Engineer
The referenced solo clear deliberately excludes Accelerator and Engineer to prove flexibility. Even if you normally rely on these towers, understanding alternatives makes you a more adaptable player.
Compensate with:
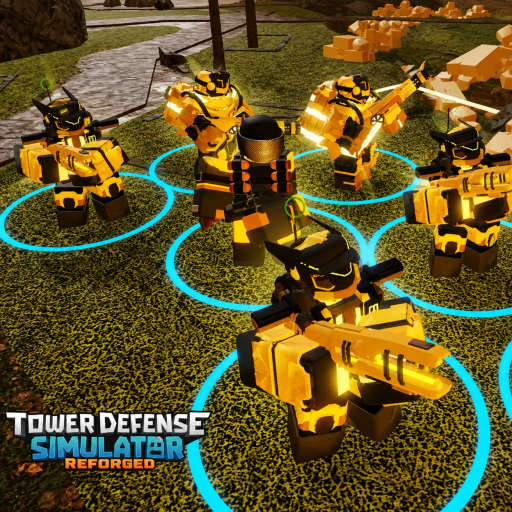
- Strong alternative single-target carries — Enforcer, Golden Ace Pilot, or Golden Minigunner for sustained DPS
- Reliable slow and control — Slowing Towers to extend kill time on high-HP enemies
- Robust economy — Economy towers that scale with extended wave counts
- Detection coverage — If invasion packs include stealth enemies, ensure your loadout has reveal capability
The mid-article video demonstrates a full solo clear under those constraints—watch placements during spike waves and note how the player responds when modifier pressure peaks.
Early and mid-game execution
Survive the opening waves with minimal investment. Avoid overspending on prestige towers before you see how the modifier rotation affects your loadout. When pressure ramps, sell starter towers and consolidate on two fully upgraded cores rather than five partially upgraded ones.
Economy timing shifts in Death Invasion. Standard wave-to-upgrade cycles may be too slow. Pre-plan your upgrade checkpoints based on modifier强度 rather than arbitrary wave numbers.
Boss and finale strategy
Save active abilities for marked moments. If your primary carry is airborne (see Golden Ace Pilot), maintain anti-air gaps elsewhere in your layout. Recheck targeting priorities every boss spawn—some Death Invasion modifiers grant bosses additional abilities that change which towers should prioritize them.
After the clear
Compare notes with Solo Hardcore and Polluted Core. Diversifying mode clears teaches transferable macro skills more than repeating one map. Each mode exposes different weaknesses in your loadout philosophy.
Practice methodology
Repeat one intentional practice match after reading this page. Ignore triumph hunting for that session—focus on a single skill such as sell timing, targeting swaps, or economy breakpoints. Then queue a real attempt and write down the wave where you leaked. Compare that note against the Guides Hub, the Tier List Hub, and the Updates Hub so your next change is evidence-based instead of random.
When you experiment with new towers, change only one slot in the Loadout Planner at a time. Pair the change with the Wave Checklist so pre-match habits stay stable. If a Roblox patch lands, skim Patch Notes before blaming your mechanics.
Related guides
- Modes Overview — full mode list
- Hardcore Tier List — competitive mode rankings
- Guides Hub — all strategy content
- Tower Roles — loadout architecture
- Polluted Core — next challenge after Death Invasion
Frequently Asked Questions
Quick answers to the most common questions.
Why avoid Accelerator and Engineer?
The referenced clear proves flexibility. You may still bring them; the guide teaches alternatives for players who want to build broader tower knowledge.
Is Death Invasion harder than Hardcore?
Pressure profiles differ. Many players find invasion modifiers spikier even if wave counts vary between the two modes.
Can co-op split roles?
Yes—assign slow, economy, and carry across players when not going for solo. Communication is essential for role assignment.
What if my towers differ after a patch?
Rebuild using current tier lists and rewatch recent Reforged clears. Vince Games patches can shift tower viability without warning.